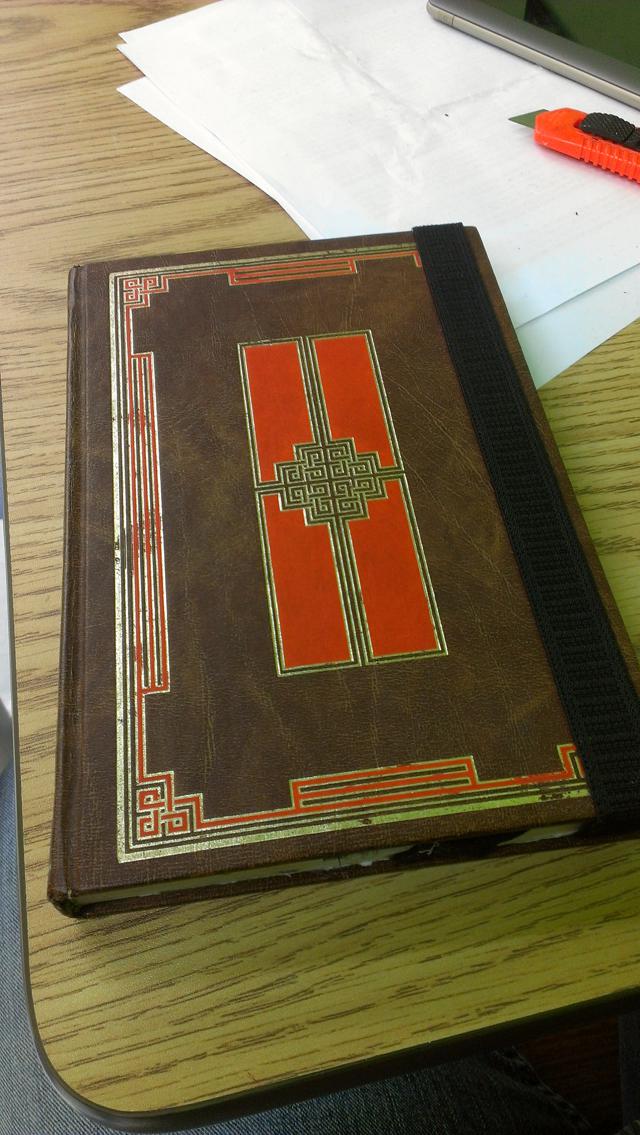
This is the third run at making a custom tablet case for cheap using a real book. This finished product is a much cleaner end result than the first two (proof that practice makes improvement).
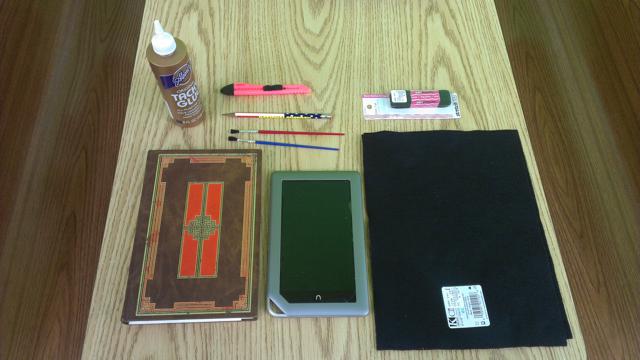
Things You’ll need:
- A book that will be the size of your tablet Plus at least 1/2 Inch bigger in all dimensions than your tablet/eReader
- Craft Felt (Craft foam optional for extra padding – recommended)
- Tacky Glue
- Utility knife – “Snap Blade” knives work really well for this, and they are cheap
- Elastic no more than 1/2″ wide
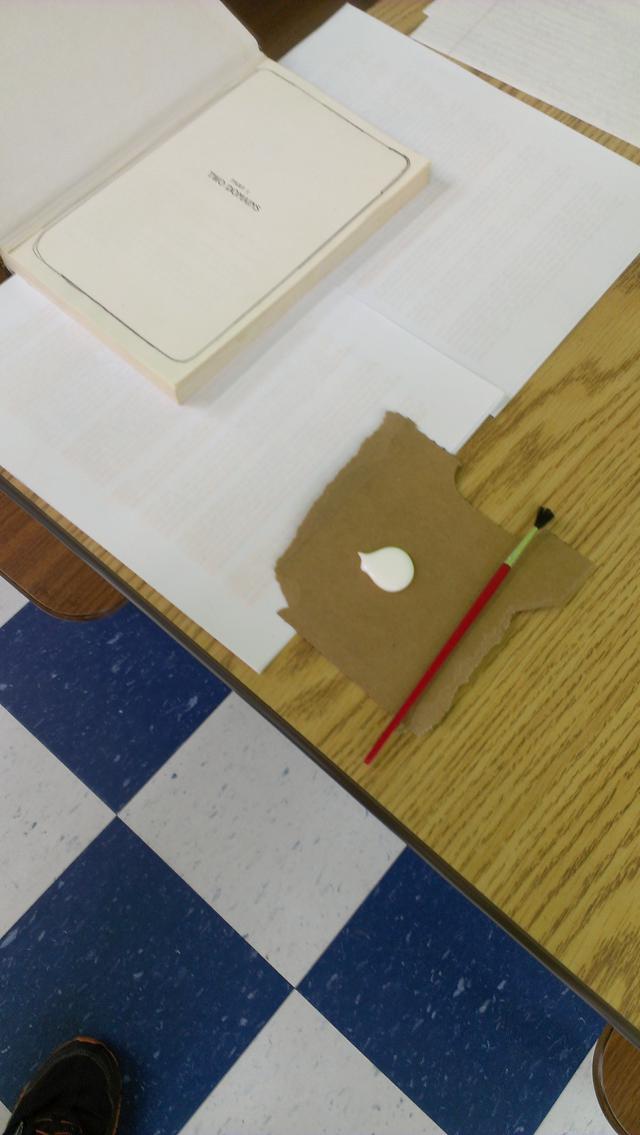
- a couple cheap disposable small watercolor brushes
- a few pencils
- A few coffee cups (two need to be the same size)
- a box of thumb tacks
- a couple heavy books
Environment:
You are going to make a couple big messes, prepare for that. Have something to cover the working table. You will be working with a sharp knife. Be warned.
Prep:
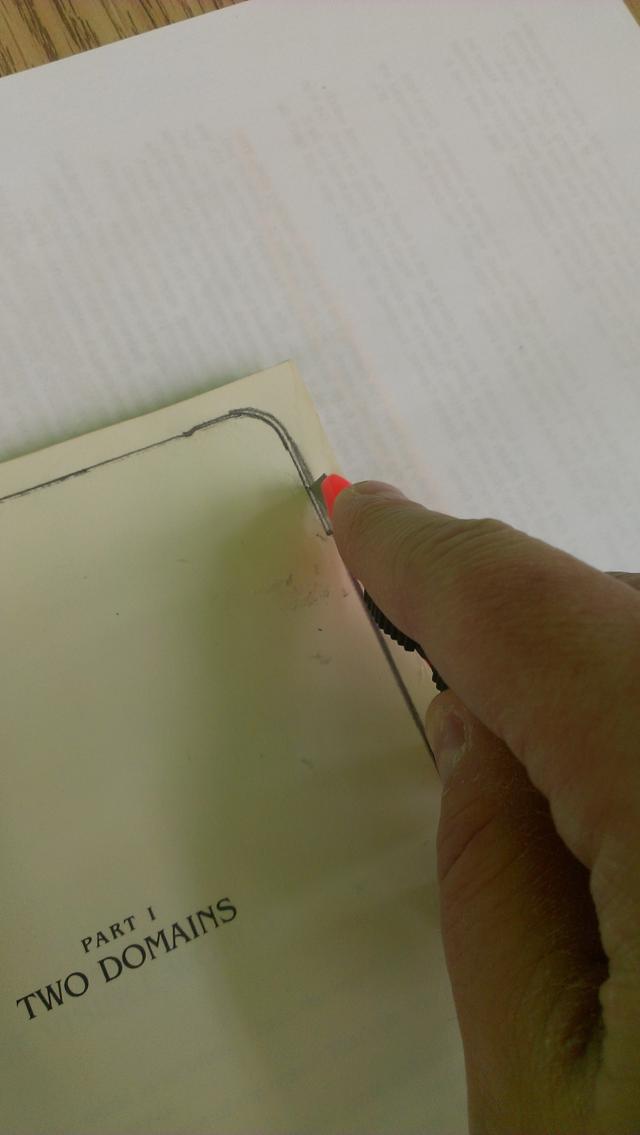
Use your tablet to make a “pattern” that is slightly larger than your device. trace it with a pencil. You will also want to use your utility knife to remove the first 20ish pages of the book to allow for proper closing.

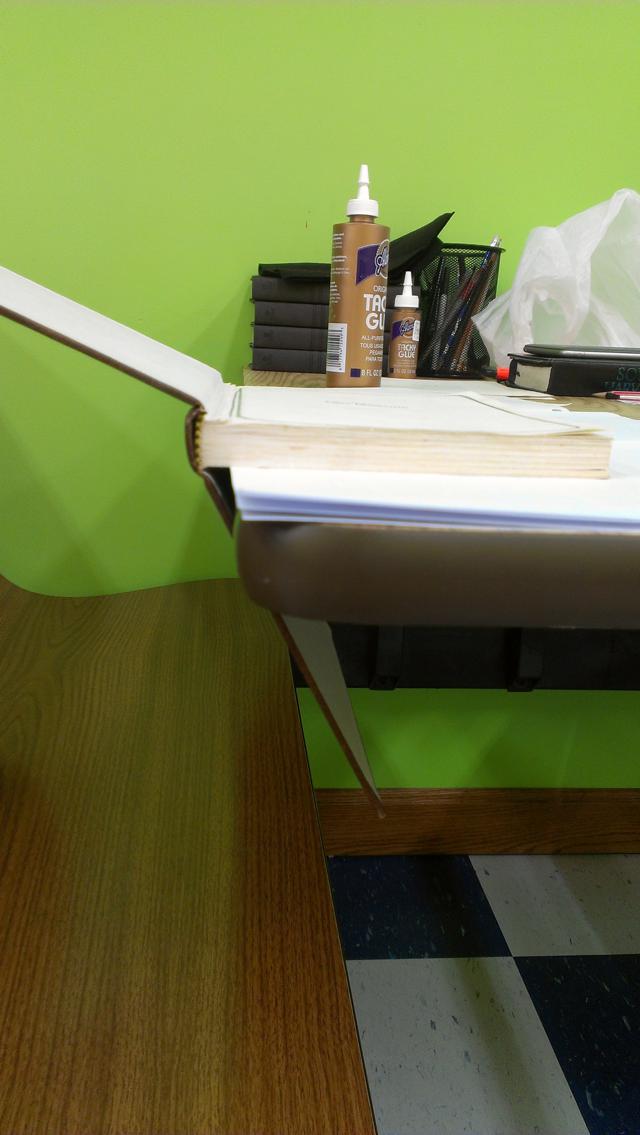
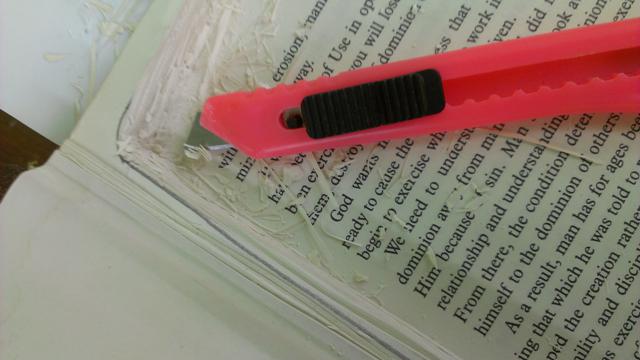
Step One: Making a solid Book
This step is key. You will want to make sure that the bottom cover is separated in this step (learned it the hard way once). Then you take your brush and Tacky Glue and “paint the pages together” along the edge. The reason I use Tacky Glue is that it is a water cleanup, cheap, available, and it dries clear. If you plan to ever use that brush again, wash it now (if you dispose of the brush, you will need another new one later)…

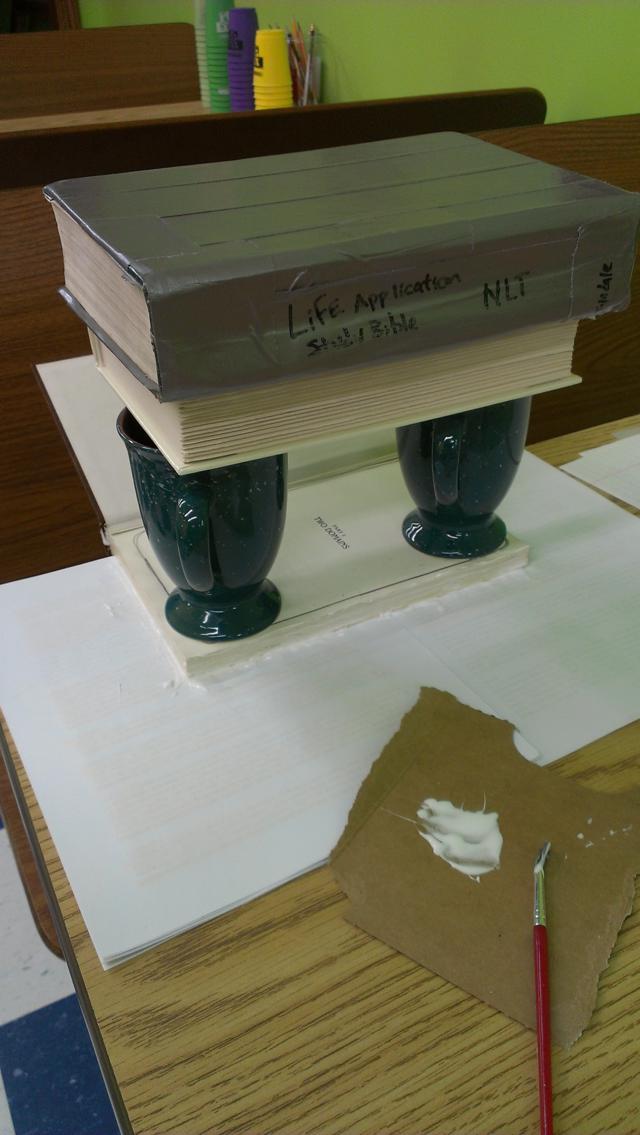
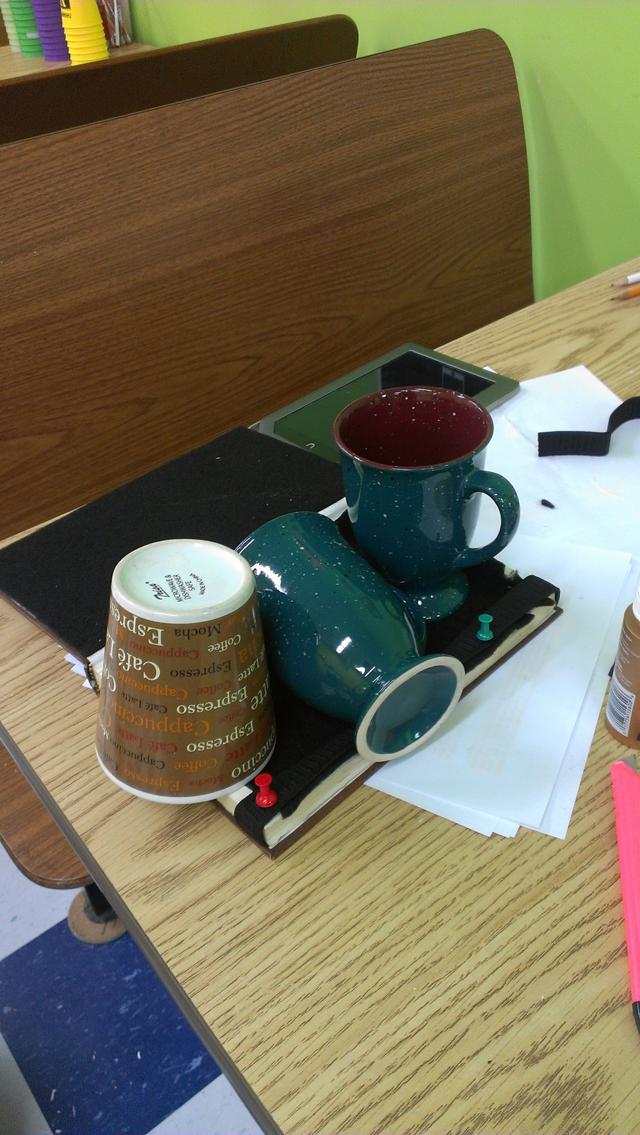
You will want some pressure to press the pages together to make a solid surface, so I used the two coffee cups and a couple heavy books. In about 15-30 minutes you can move on.
Step Two: Cutting the pages
After the glue is set/mostly dry, you can start cutting your pattern that is a little larger than your device. Cut the pages down to a depth about 1/4″ deeper than your device is thick (a little more than that if you use the craft foam for additional padding) Take your time here, as you are using a sharp knife that is getting duller as you work. This is why I recommend using the “snap blade” style knives. you will probably use an entire blade for this project. Next make sure that the corners are an even cut all the way down. This will help the fit of your device in the case and make it much easier to apply the craft felt later.


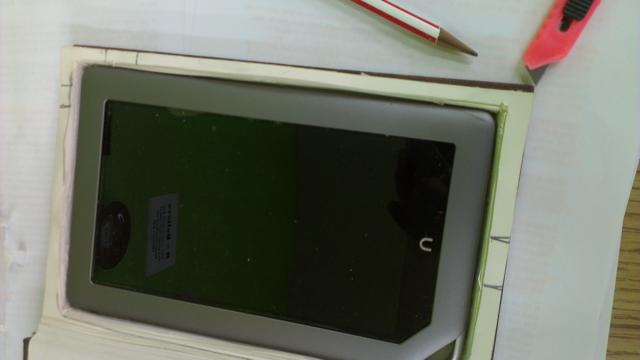
Step Three: Holes for Ports/Volume Control
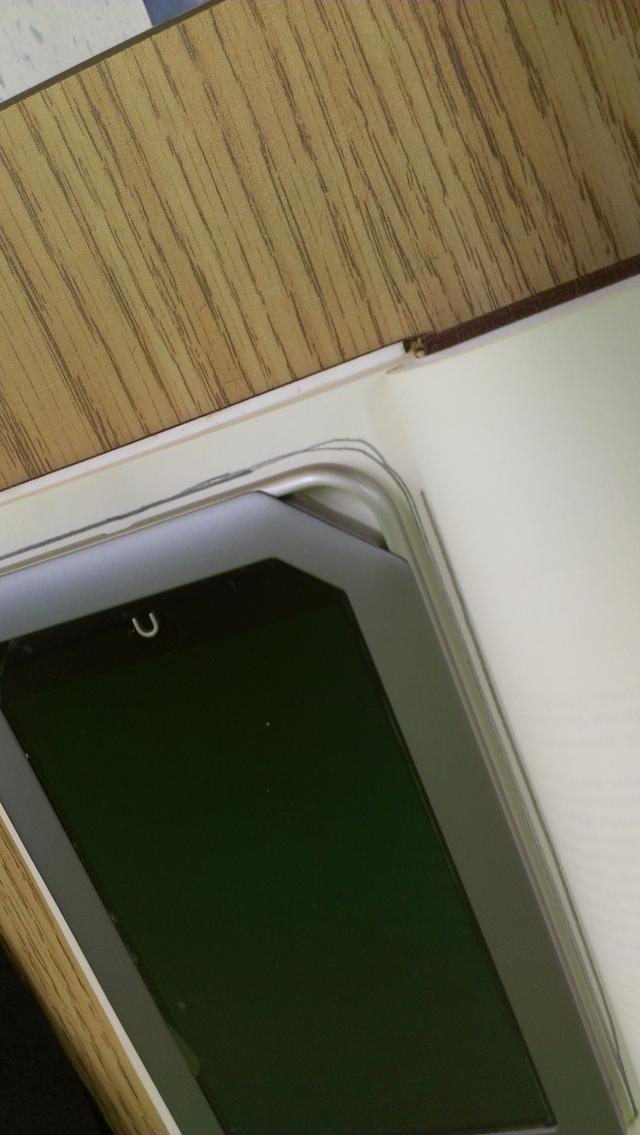
In this step, you will actually test your fit, and mark where your charge port, headphone connection, and volume control are so that you can make holes for them in the case. When you test your fit, there needs to be some extra space for the felt (and the foam, if you choose to use it). If it is a tight fit now, go back and make the space larger now.
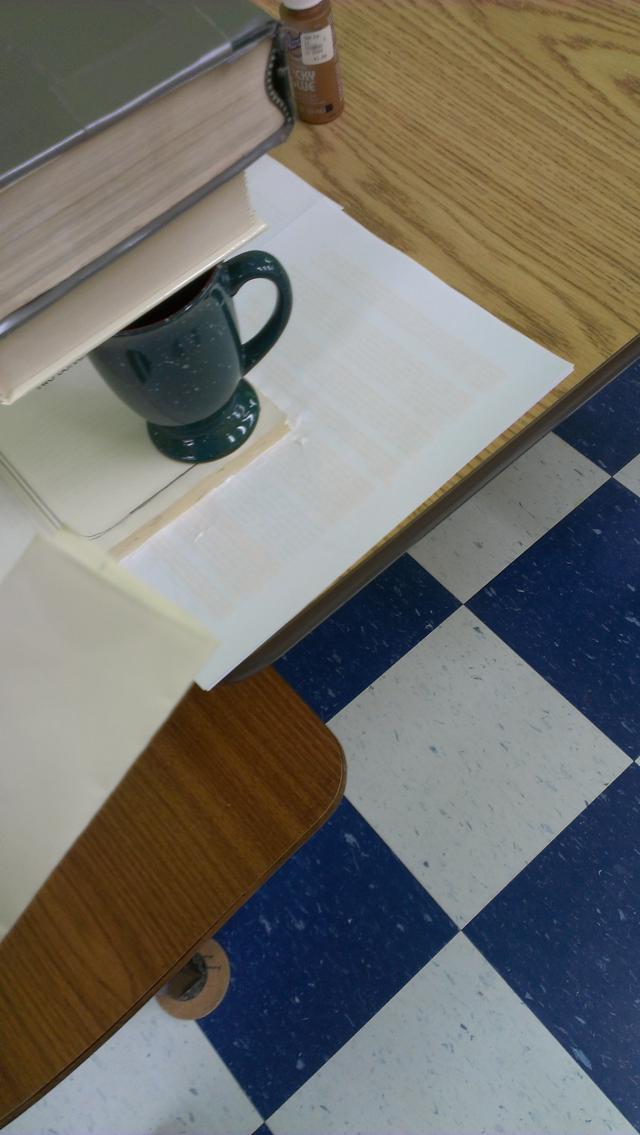
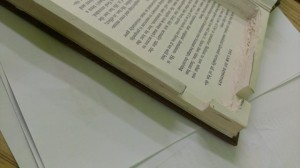
If the fit is right, mark the location of the ports. cut the holes as marked. Trust me, don’t try to make a round hole here. just make it square. It is much easier. Once the port holes are cut, use the tacky glue and your clean brush or a new brush to brush glue on the edges of the port holes and on the inside of your space for your device to help make it more solid.
Note how the pencils and coffee cups press down on the edges of the port holes. This is important. You need some way to put pressure on the edges to make them dry solidly.


Step Four: Felt and Elastic
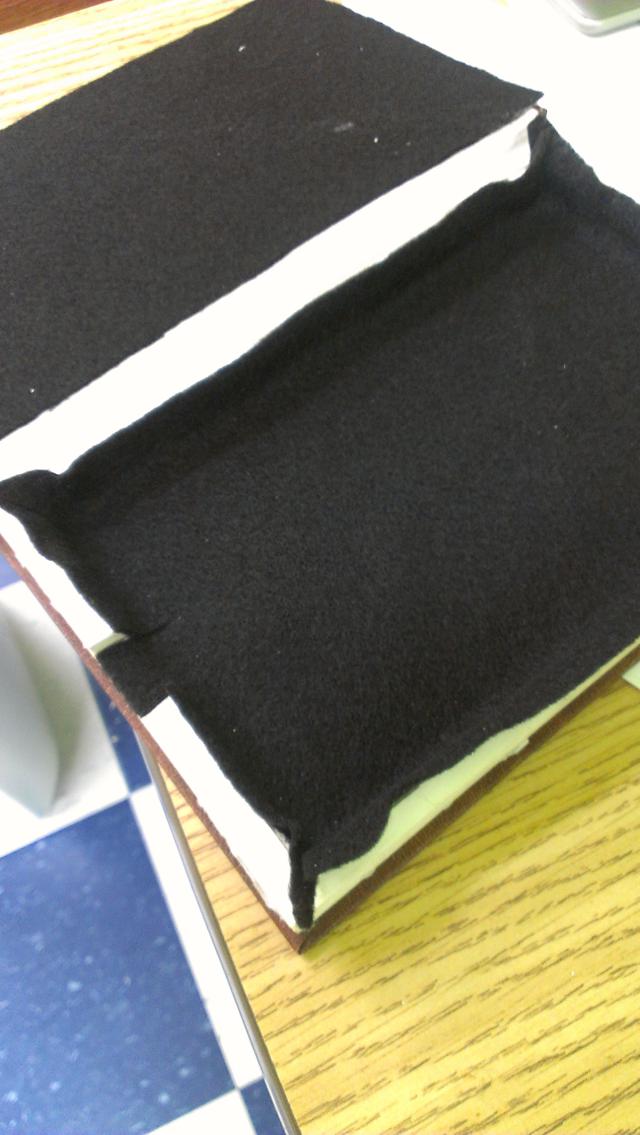
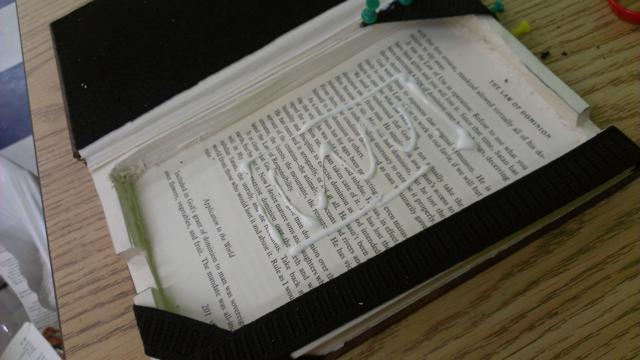
This step requires you take your time. My book happened to be the size that I was able to cut a 8.5×11 Sheet in two and glue one half to the inside cover, and use the other as a “device-bed” DO NOT GLUE IT IN YET!. To make the felt fit better, I cut a slit at each corner that would later be trimmed, and notched the port holes. Set that felt aside for now.
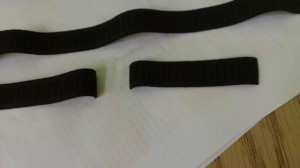
You will cut three pieces of elastic – two short ones to hold corners, and one longer one to close the front cover.
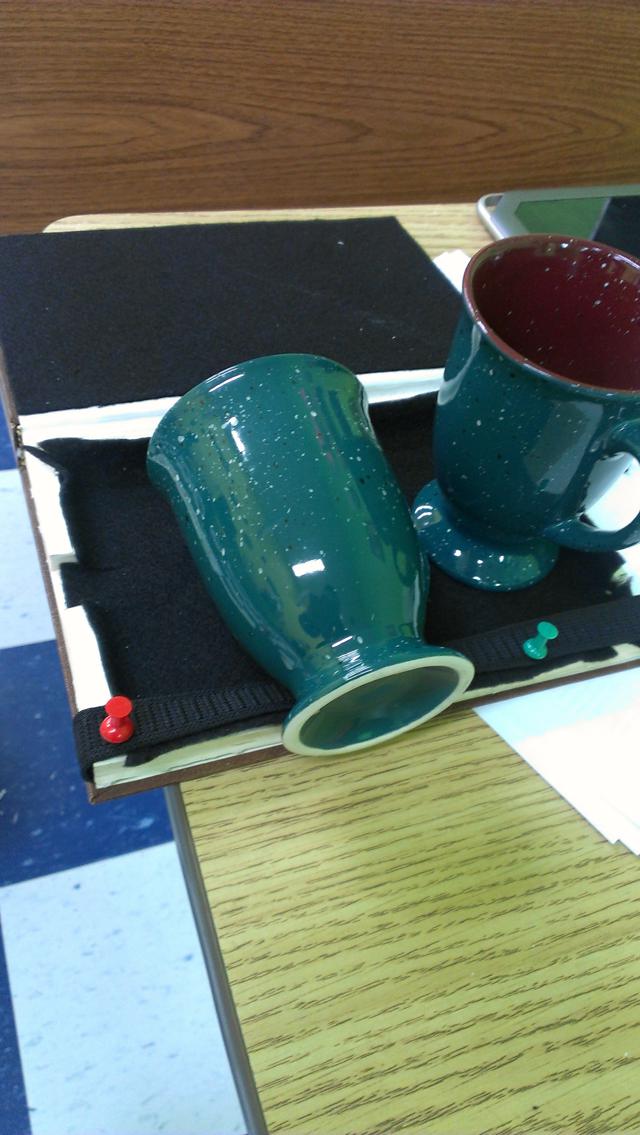
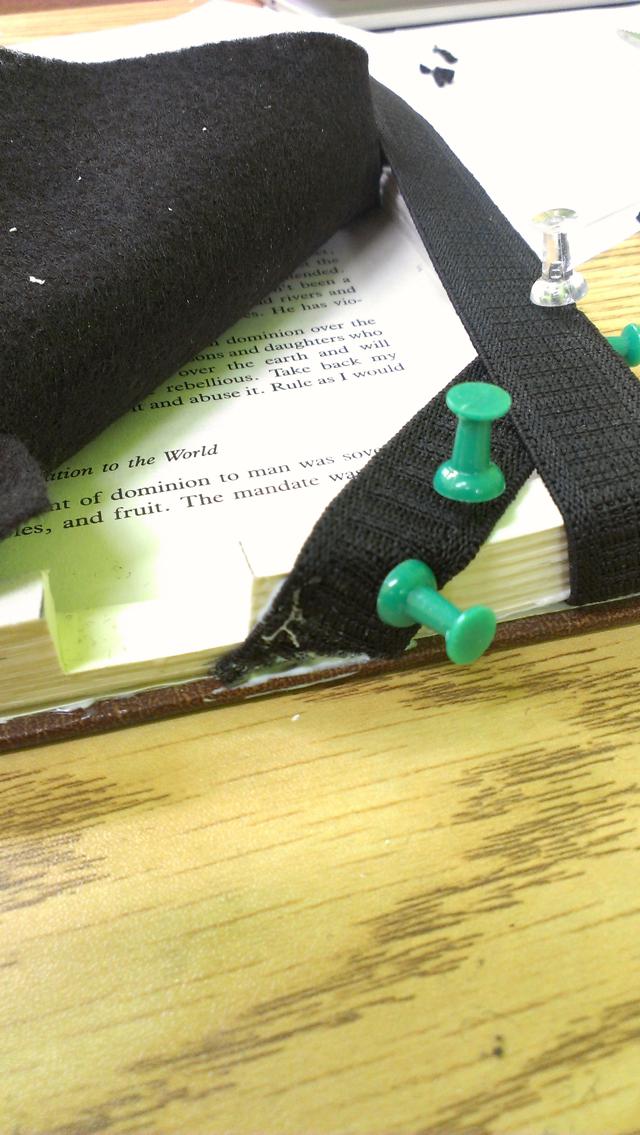
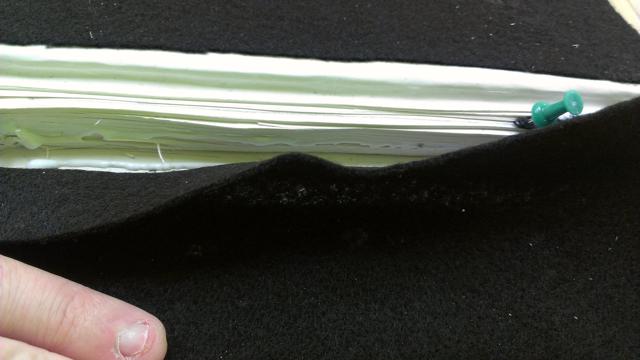
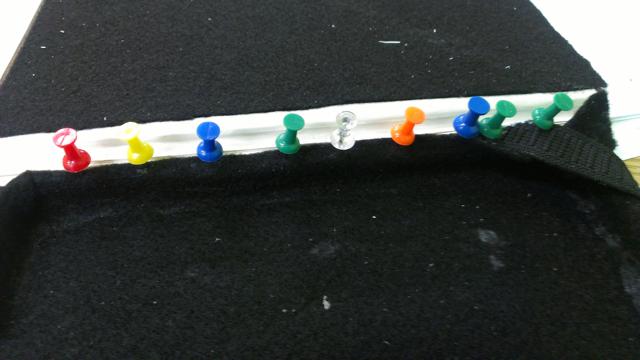
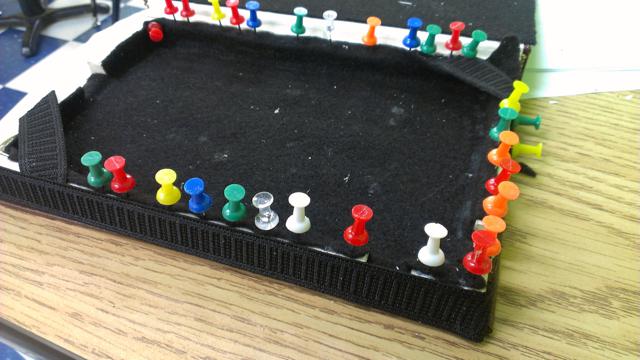
Front cover elastic is first. Open the back cover and place about 2-3″ of the elastic inside and glue in place. Hold the corner in place while stretching and repeating the procedure. I took a couple thumbtacks and tacked the elastic in place to the book while the glue dries. It is at this point you also glue the back cover in place and weight it with coffee cups. Allow time to set/dry.
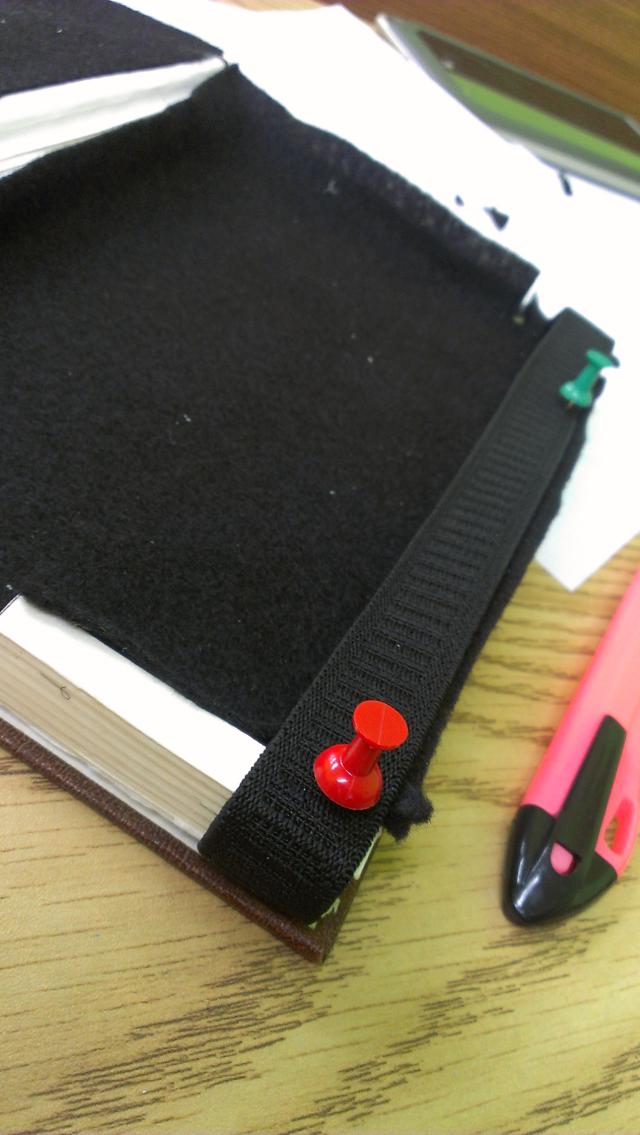
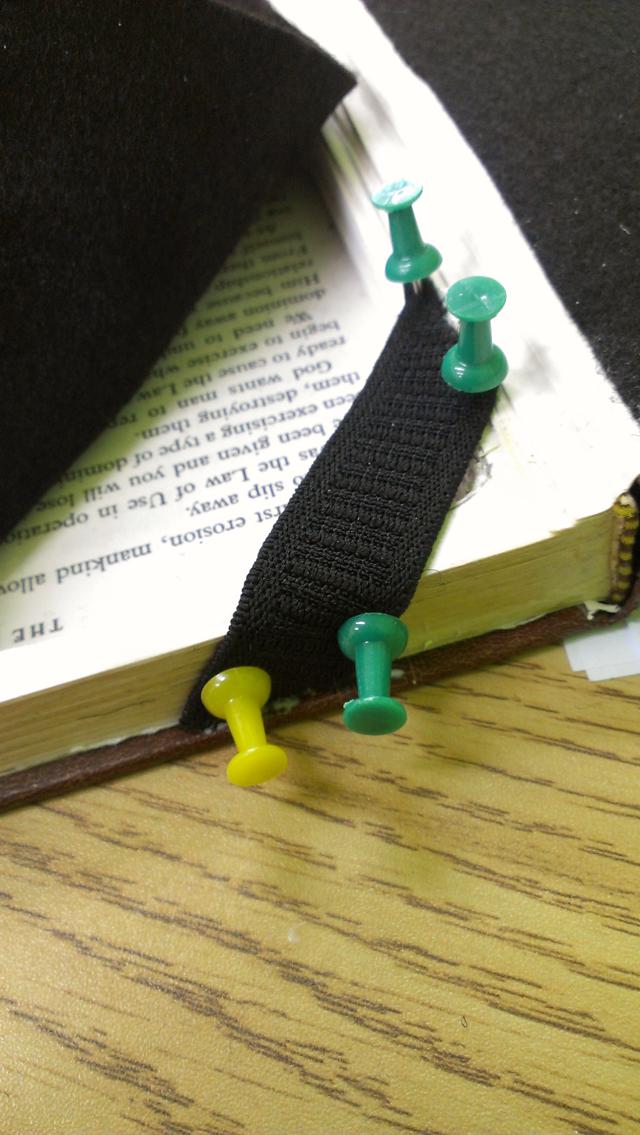
Now the lower corner elastic. Cut, glue and pin as shown.Make sure you route the corner elastic UNDER the front cover elastic with a slight “stretch”. Allow to dry.


The top corner elastic is a similar process. Cut, glue pin in place with a slight “stretch”. Allow to dry
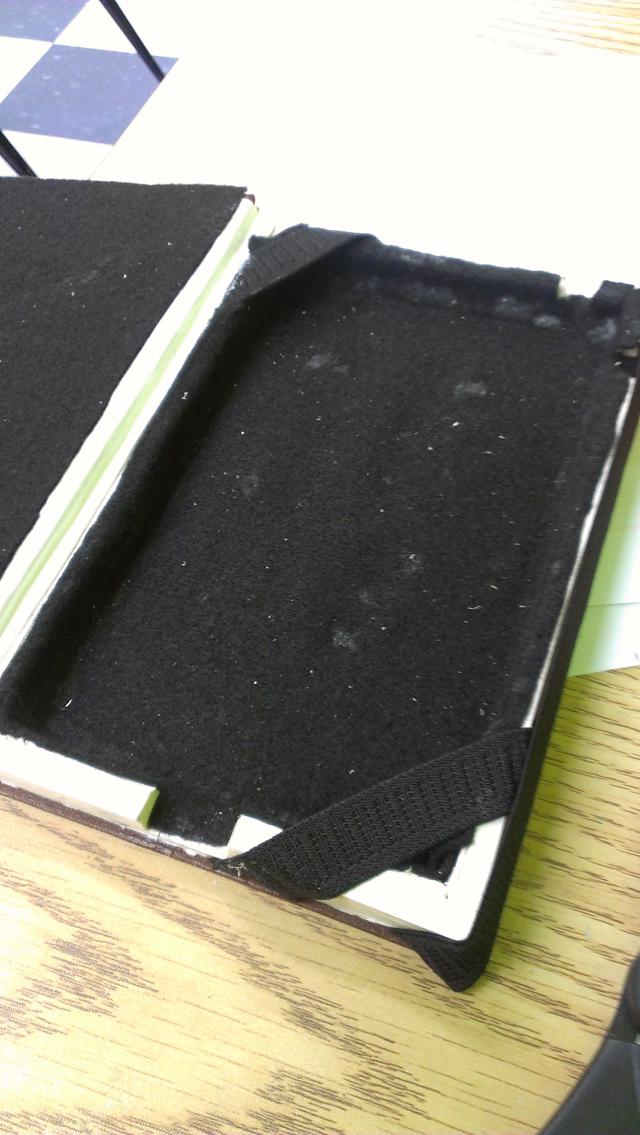
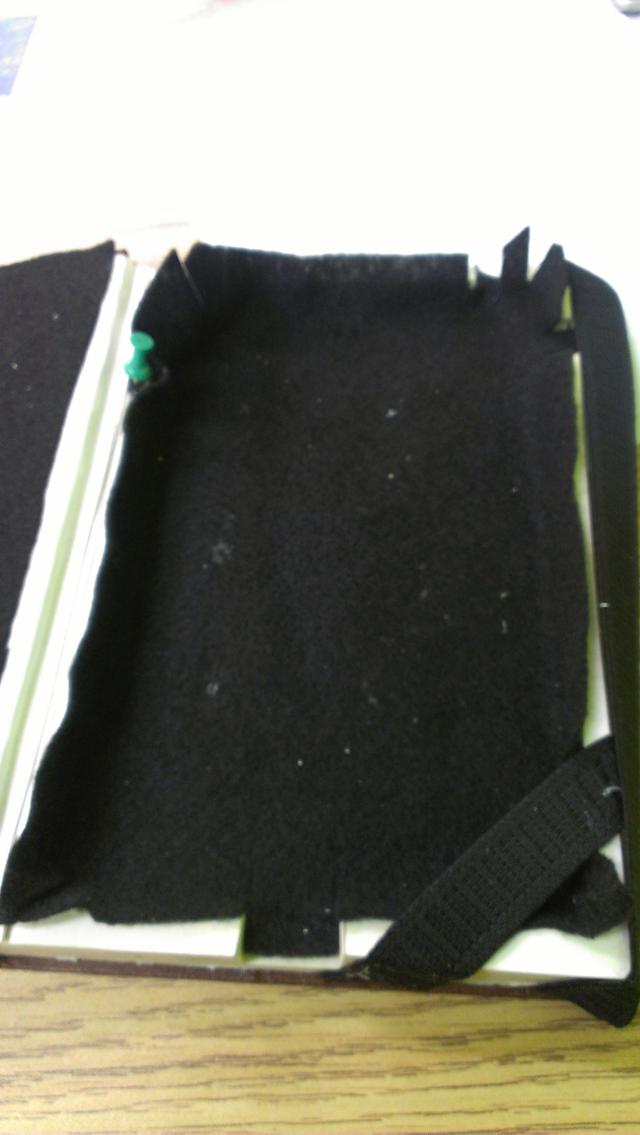
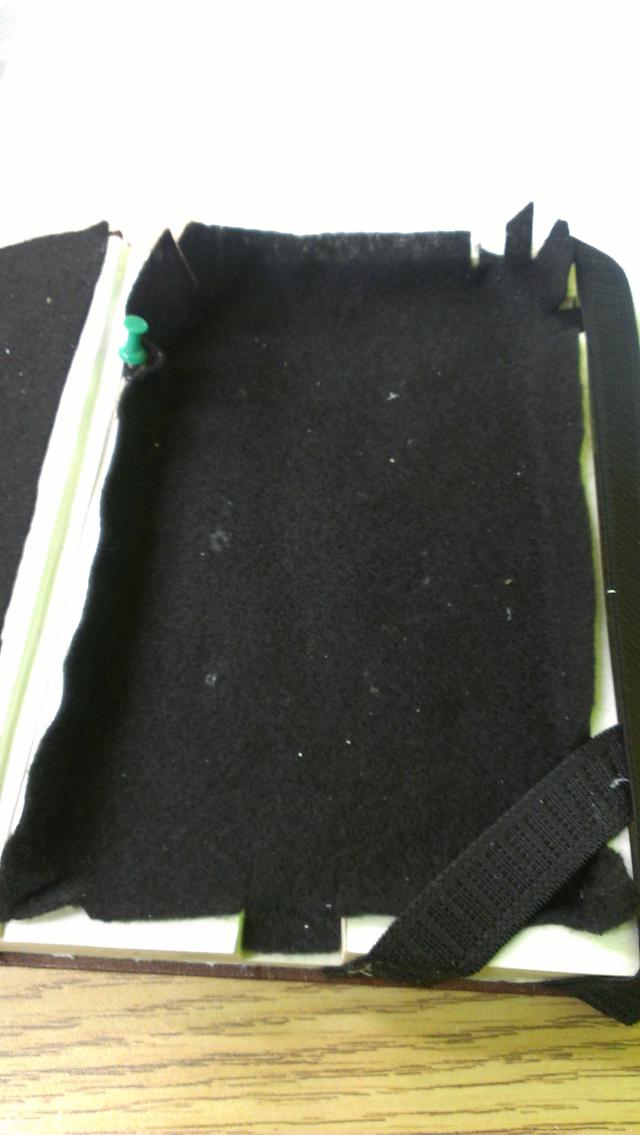
Step Five: Finishing The Felt
Almost there!! Once the elastic is dry, it is time to glue and trim the felt. Allow to dry. Do not close the case until the glue is dry in this step, incase some managed to get into the binding…
And… We’re Done!!